Welbilt Bread Machine Instruction Manual: A Comprehensive Guide
Discover essential guidance for your Welbilt bread maker, from model identification to troubleshooting, with readily available manuals online and through retailers like eBay and Walmart.
Welbilt bread machines offer a convenient way to enjoy freshly baked bread at home. These appliances, including models from the ABM series like the ABM-100-4, ABM3500, ABM7500, and ABM8200, have been popular for years, though finding original manuals can sometimes be a challenge. Resources like the Internet Archive provide downloadable manuals, while platforms like eBay offer both original and reprinted versions for purchase.
Owners seeking guidance can also find manuals specific to their model number, ensuring compatibility with their machine’s features and functions. Whether you’ve recently acquired a Welbilt bread machine or need to replace a lost manual, several avenues exist to access the necessary instructions for successful baking.
Understanding Welbilt Model Numbers (ABM Series)
Welbilt bread machines utilize the “ABM” series designation, with varying numbers indicating specific models and features. Identifying your exact model – such as ABM-100-4, ABM3500, ABM6800, ABM7500, or ABM8200 – is crucial when searching for the correct instruction manual. These numbers often appear on a label located on the machine’s base or inside the lid.
Different ABM series models may have unique cycle options or control panel layouts. Knowing your model number ensures you access a manual tailored to your machine, providing accurate instructions for optimal performance and baking results. Online resources and marketplaces frequently categorize manuals by these specific ABM designations.
Locating Your Welbilt Bread Machine Manual
Finding your Welbilt bread machine manual can be achieved through several avenues. The Internet Archive offers downloadable manuals, including the ABM-100-4 model. eBay is a valuable resource, with sellers offering original and reprinted manuals for various ABM series models. Walmart.com also lists reprinted instruction manuals, specifically for models like the ABM6800.
If online searches prove unsuccessful, consider exploring Reddit’s r/HelpMeFind community, where users may have shared resources or leads. Remember to specify your exact model number when searching to ensure compatibility and accurate instructions.
Online Resources for Manuals
Numerous online platforms host Welbilt bread machine manuals. The Internet Archive is a prime starting point, offering free download, borrowing, and streaming of manuals like the ABM-100-4. Manualzilla also contributes to this digital archive of appliance documentation. A simple web search often reveals listings on sites dedicated to appliance manuals.
However, verifying the manual’s accuracy for your specific model is crucial. Websites may contain outdated or incorrect information. Cross-referencing with other sources and checking model numbers ensures you have the correct instructions for optimal bread-making results.
Purchasing Replacement Manuals
If online searches prove unsuccessful, purchasing a replacement manual is a viable option. eBay frequently lists Welbilt bread machine manuals for various AMB series models, offering both original and reprinted versions; Walmart.com also sells reprinted instruction manuals, specifically for models like the ABM6800.
When buying, carefully review the seller’s description to confirm compatibility with your machine’s model number. Some listings offer professionally comb-bound manuals printed on high-quality paper, ensuring durability. Consider the condition – used manuals may contain highlighting or notes.
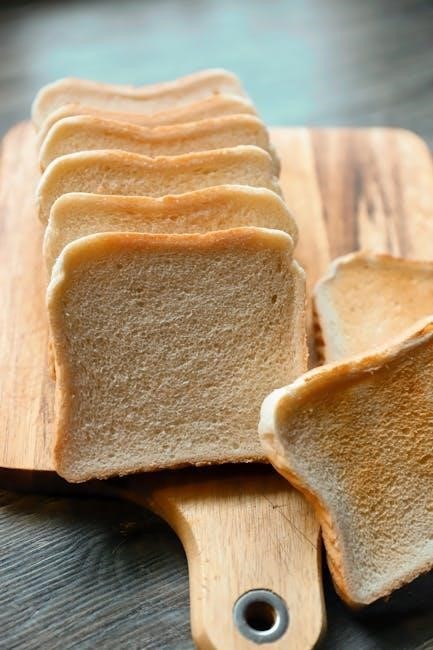
Bread Machine Parts Identification
While a detailed parts diagram isn’t explicitly mentioned in available resources, understanding the components is crucial. Manuals, when obtained, typically illustrate the bread machine’s exterior features – the control panel, lid, and bread pan. Internal components, like the kneading paddle, are often depicted to aid in cleaning and maintenance.
eBay listings for manuals sometimes showcase images of the manual’s contents, potentially revealing parts illustrations. Familiarizing yourself with these diagrams, if accessible, will assist in troubleshooting and proper machine operation. Knowing the names and locations of key parts is essential for effective use.
Getting Started with Your Welbilt Bread Machine
Begin by carefully cleaning your machine and reviewing the control panel; readily available manuals detail initial setup and optimal ingredient usage for success.
Initial Setup and Cleaning
Before your first loaf, thoroughly inspect all components of your Welbilt bread machine. Remove any packaging materials, and wash the kneading paddle and bread pan with warm, soapy water. Ensure all parts are completely dry before reassembling. Wipe down the exterior of the machine with a damp cloth – avoid abrasive cleaners.
Consult your specific model’s manual (available online via the Internet Archive or for purchase on eBay) for detailed cleaning instructions; Some models may have removable crumb trays requiring periodic emptying. Proper initial cleaning ensures optimal performance and prevents unwanted flavors in your bread. A clean machine is a happy machine, ready to bake delicious results!
Understanding the Control Panel
Familiarize yourself with your Welbilt bread machine’s control panel; it’s the key to successful baking! Locate the function buttons – these control cycles like Basic, Whole Wheat, and French bread. Pay attention to display indicators, which signal the current stage of the baking process (kneading, rising, baking, keep warm).
Refer to your model’s manual (found on resources like the Internet Archive or through eBay purchases) for a precise explanation of each button and indicator. Understanding these controls allows you to customize your bread recipes and troubleshoot any issues. Mastering the control panel unlocks the full potential of your Welbilt machine!
Function Buttons Explained
Each button on your Welbilt bread machine initiates a specific baking function. The ‘Menu’ or ‘Cycle’ button selects bread types – Basic, French, Whole Wheat, and potentially Gluten-Free. ‘Start/Stop’ begins or halts the baking process. ‘Crust Color’ adjusts the browning level (light, medium, dark). ‘Delay Timer’ allows pre-programmed baking, ideal for fresh bread in the morning.
Consult your manual (available via Internet Archive or eBay) for model-specific button layouts. Some models feature buttons for dough-only cycles or jam making. Understanding each function ensures you select the optimal settings for your desired bread. Experimenting with these buttons unlocks a world of baking possibilities!

Display Indicators and Their Meanings
The Welbilt bread machine’s display panel provides crucial information during operation. Indicators signal cycle status – kneading, rising, baking, and keep-warm. A colon (:) often represents time remaining in the current phase. Error codes, if displayed, indicate issues like power failure or ingredient imbalances; consult your manual for solutions.
The ‘Delay Timer’ indicator confirms the programmed start time. Some models show crust color selection. Refer to your specific model’s manual (found on Internet Archive or through eBay purchases) for a detailed explanation of all indicators. Understanding these signals ensures successful baking and troubleshooting.
Ingredient Guidelines for Best Results
Achieving optimal bread quality with your Welbilt machine hinges on precise ingredient selection and measurement. Flour type significantly impacts texture; bread flour yields a chewier loaf, while all-purpose works well for softer breads. Yeast must be fresh and properly activated – check expiration dates! Liquids should be lukewarm, not hot, to avoid killing the yeast.
Follow recipe instructions carefully, as ingredient ratios are crucial. Using the correct amounts of sugar and salt enhances flavor and controls yeast activity. Refer to available manuals (eBay, Internet Archive) for specific recommendations tailored to your Welbilt model.
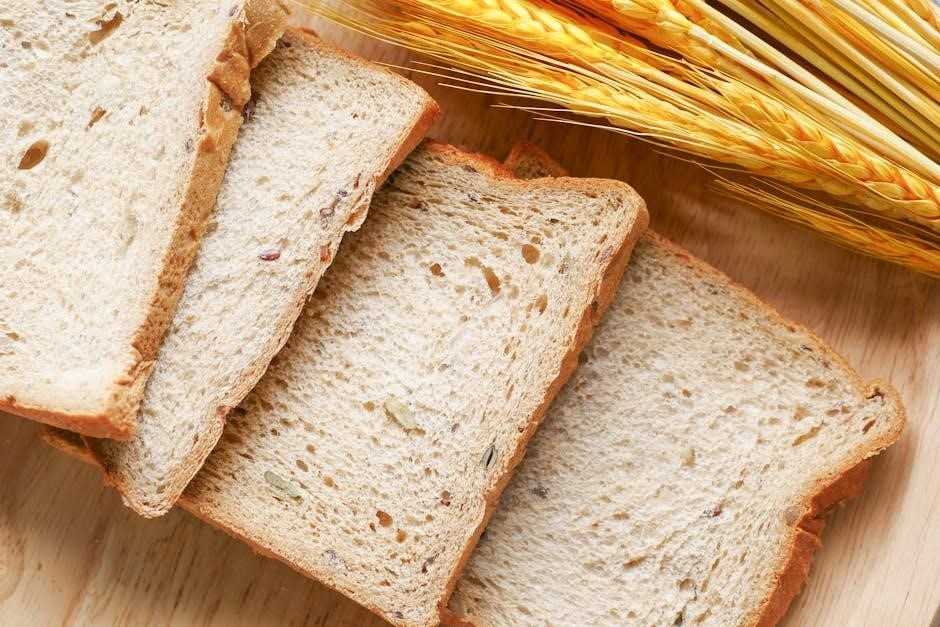
Flour Types and Their Impact
Selecting the appropriate flour is paramount for successful bread making with your Welbilt machine. Bread flour, boasting a higher protein content, develops more gluten, resulting in a chewier, more structured loaf – ideal for artisan-style breads. All-purpose flour offers a softer texture, suitable for sandwich loaves and simpler recipes. Whole wheat flour adds a nutty flavor and increased nutritional value, but may require adjustments to liquid levels.
Experimentation is key! Referencing your Welbilt manual (available via Internet Archive, eBay) will provide specific guidance for different flour types and their impact on final results.
Yeast Selection and Activation
Proper yeast selection and activation are crucial for a successful rise. Instant yeast, also known as bread machine yeast, can be added directly to dry ingredients. Active dry yeast requires proofing – dissolving in warm water (105-115°F) with a pinch of sugar for 5-10 minutes until foamy. This confirms its viability.
Expired or improperly stored yeast won’t activate, leading to flat bread. Consult your Welbilt manual (found on resources like eBay and the Internet Archive) for specific yeast recommendations and quantities tailored to your machine’s cycles.

Basic Bread Making with Your Welbilt Machine
Follow a standard recipe, adding ingredients in the correct order, selecting the appropriate cycle, and timing it precisely for perfect, homemade bread.
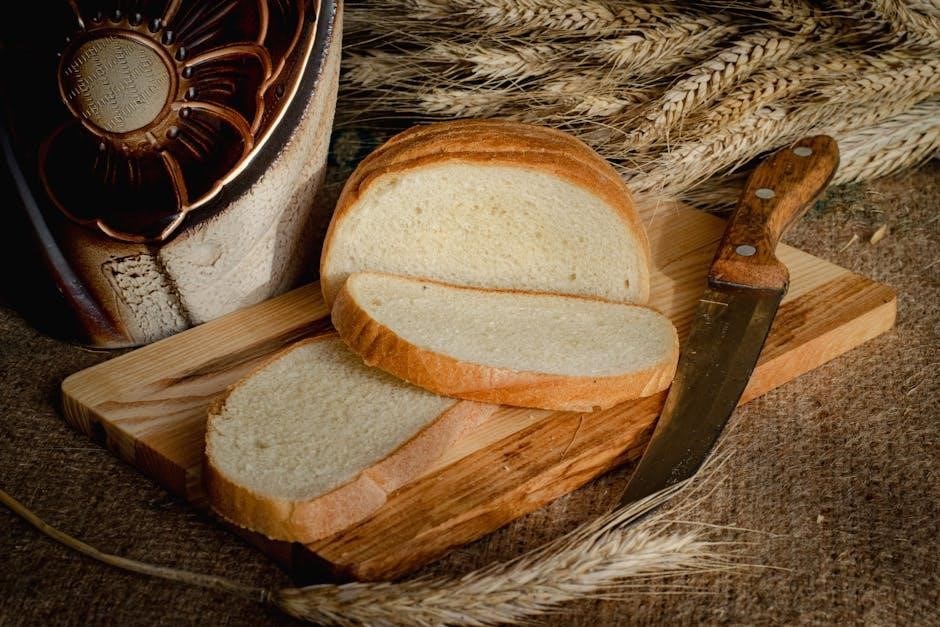
The Standard Bread Recipe
Embark on your bread-making journey with a foundational recipe, typically requiring 1 ¼ cups of warm water (105-115°F), 2 ½ teaspoons of active dry yeast, 1 tablespoon of sugar, 1 ½ teaspoons of salt, 2 tablespoons of oil (vegetable or olive), and 3 to 3 ½ cups of bread flour. This classic combination provides a reliable starting point for various Welbilt models, like the ABM-100-4 or ABM3500.
Remember that slight adjustments may be needed based on your specific machine and desired loaf size (typically 1 lb or 1.5 lb). Refer to your model’s manual, if available, for precise measurements. Experimenting with flour types, like whole wheat, can alter the recipe’s requirements, necessitating adjustments to liquid and yeast amounts for optimal results.
Step-by-Step Bread Making Process
Begin by adding wet ingredients – water, oil – to the bread machine pan, followed by dry ingredients: flour, sugar, salt, and finally, yeast on top, ensuring it doesn’t come into direct contact with liquids initially. Select the appropriate cycle, often the ‘Basic’ or ‘Standard’ setting, and choose your desired loaf size (1 lb or 1.5 lb).
Press start, and allow the machine to knead, rise, and bake. Cycle times vary, typically ranging from 3 to 4 hours. Avoid opening the lid during baking to prevent temperature fluctuations. Once complete, carefully remove the loaf using oven mitts, and let it cool on a wire rack before slicing and enjoying your freshly baked bread!
Adding Ingredients in the Correct Order
Optimal bread machine performance relies on precise ingredient layering. First, introduce liquids – water, oil, milk – directly into the pan. Next, add dry ingredients: flour, sugar, salt, and any powdered milk. Crucially, create a small well in the center of the dry ingredients and carefully place the yeast inside.
This prevents premature activation from liquid contact. Avoid adding nuts, seeds, or fruits directly with initial ingredients; the machine’s cycle will typically signal when to add these later. Following this order ensures proper mixing, kneading, and ultimately, a perfectly risen loaf.
Cycle Selection and Timing
Welbilt bread machines offer diverse cycles – Basic, Whole Wheat, French, and more – each with pre-programmed timings for optimal results. The ‘Basic’ cycle suits most recipes, while ‘Whole Wheat’ extends kneading and rising for denser flours. ‘French Bread’ delivers a crispier crust with a shorter cycle.
Carefully review your recipe and select the corresponding cycle. Cycle durations vary; typically ranging from 1.5 to 3.5 hours, including baking. Some models feature a ‘Delay Timer’ allowing you to schedule baking for later. Always monitor the initial mixing stage to ensure proper ingredient incorporation.
Troubleshooting Common Bread Making Issues
Dense or heavy bread often results from insufficient yeast, improper ingredient ratios, or excessive liquid. Ensure yeast is fresh and activated correctly. If bread doesn’t rise, check yeast viability, room temperature, and avoid opening the lid during rising. A collapsed loaf indicates too much liquid or over-proofing.
Uneven baking can stem from uneven ingredient distribution or a malfunctioning heating element. Always add ingredients in the correct order, as specified in your recipe. If issues persist, consult the manual or consider a replacement machine if the heating element is faulty.
Dense or Heavy Bread
A common issue, dense bread typically indicates insufficient yeast activity or an imbalance in ingredients. Verify your yeast’s expiration date and ensure proper activation with warm water and a touch of sugar. Too much whole wheat flour or not enough liquid can also contribute to a heavy texture.
Incorrect ingredient measurements are a frequent culprit; always use measuring cups and spoons accurately. Over-kneading, though less common in bread machines, can also lead to a dense loaf. Finally, ensure the correct cycle is selected for your recipe, as some cycles offer longer rise times.
Bread Not Rising Properly
Insufficient yeast is the primary cause of bread failing to rise. Confirm your yeast is fresh and hasn’t expired; old yeast loses its potency. Ensure the water temperature is within the recommended range – too hot will kill the yeast, while too cold won’t activate it. A cold kitchen environment can also hinder rising.
Check for ingredients that might inhibit yeast activity, such as excessive salt or fat. Also, verify the lid is securely closed during the rising phase. If the problem persists, try a different brand of yeast or consider adding a teaspoon of sugar to provide extra food for the yeast.
Advanced Bread Making Techniques
Explore diverse cycles like Whole Wheat and French Bread, plus enhancements with fruits, nuts, and seeds – even gluten-free options – for baking mastery!
Using Different Bread Cycles
Welbilt bread machines offer a variety of pre-programmed cycles to cater to diverse baking preferences. The Whole Wheat Cycle is specifically designed for recipes utilizing whole wheat flour, often incorporating a longer rise time to accommodate its denser texture. Conversely, the French Bread Cycle typically features a higher initial kneading speed and a shorter rise, aiming for a crispier crust and airy interior.
Beyond these staples, some models may include cycles for sweet breads, dough-only preparations, or even jam making. Refer to your specific model’s manual – available through sources like the Internet Archive and eBay – to fully understand each cycle’s parameters and optimal ingredient ratios. Experimentation is key to unlocking the full potential of your Welbilt machine!
Whole Wheat Cycle
Utilizing the Whole Wheat cycle on your Welbilt bread machine requires understanding its unique characteristics. This cycle extends the kneading and rising times to properly develop the gluten in whole wheat flour, which is naturally less pliable than all-purpose flour. Often, a slightly higher liquid content is recommended to compensate for whole wheat’s increased absorption.
Consult your Welbilt manual – found on platforms like the Internet Archive or through eBay sellers – for precise ingredient ratios tailored to your specific model. Remember that adding vital wheat gluten can further enhance the bread’s rise and texture. Successful whole wheat baking hinges on patience and adherence to the cycle’s extended timings.
French Bread Cycle
The French Bread cycle on your Welbilt machine is designed to create loaves with a crisp crust and airy interior, mimicking traditional French bread. This cycle typically features a longer rise time and a higher baking temperature to achieve that signature texture. It often incorporates a specific kneading pattern to develop the gluten structure necessary for a robust loaf.
Refer to your Welbilt manual – accessible via resources like the Internet Archive or eBay – for recommended ingredient proportions and cycle timings. A slightly drier dough is often preferred for this cycle. Experimentation may be needed to perfect the recipe based on your machine’s model and desired crust color.
Adding Fruits, Nuts, and Seeds
Enhance your bread with delightful additions! Welbilt bread machines allow for incorporating fruits, nuts, and seeds, but timing is crucial. Generally, add these ingredients during the second knead, after gluten development has begun. This prevents them from being crushed during the initial mixing process.
Dried fruits should be chopped and may benefit from a brief soak in warm water to plump them up. Nuts can be added whole or chopped. Seeds can be sprinkled directly into the dough. Consult your Welbilt manual (found on platforms like eBay or the Internet Archive) for specific recommendations based on your model and desired quantity.

Making Gluten-Free Bread
Baking gluten-free bread in your Welbilt machine requires specific adjustments. Gluten provides structure, so gluten-free flours need binders like xanthan gum or guar gum – follow recipe instructions carefully. Utilize the dedicated gluten-free cycle if your model (like those available on eBay) has one; otherwise, a standard cycle may work with monitoring.
Gluten-free doughs are often wetter, so reduce liquid slightly. Ensure ingredients are fresh, as gluten-free baking is less forgiving. Refer to your Welbilt manual or online resources (Internet Archive) for tailored guidance and successful gluten-free recipes.

Maintenance and Care
Ensure longevity by regularly cleaning your Welbilt machine, storing it safely, and always adhering to the safety precautions detailed in your instruction manual.
Cleaning Your Welbilt Bread Machine
Maintaining a clean bread machine is crucial for optimal performance and longevity. Always unplug the machine before cleaning! The baking pan and kneading paddle are typically removable and dishwasher-safe, though hand washing with warm, soapy water is recommended to preserve their non-stick coating. Wipe the exterior of the machine with a damp cloth; avoid abrasive cleaners.
Pay close attention to the heating element, ensuring no crumbs or residue accumulate. Regularly inspect and clean the crumb collection area, if your model has one. Refer to your specific model’s manual – available through Internet Archive, eBay, or Walmart – for detailed cleaning instructions. Proper cleaning prevents odors and ensures consistent baking results. Remember to thoroughly dry all parts before reassembling.
Storage Instructions
Proper storage extends the life of your Welbilt bread machine. Before storing, ensure the machine is completely clean and dry, as detailed in the cleaning section of your manual – resources available on Internet Archive, eBay, and Walmart. Store the machine in a cool, dry place, away from direct sunlight and extreme temperatures.
Avoid storing it in damp environments like basements, which can cause corrosion. If possible, store the machine in its original packaging to protect it from dust and scratches. Keep the power cord neatly coiled and secured. Regularly check the stored machine for any signs of damage or deterioration.
Safety Precautions
Always unplug your Welbilt bread machine before cleaning or performing maintenance, as detailed in available manuals from sources like Internet Archive and eBay. Never immerse the machine, cord, or plug in water or other liquids. Avoid touching hot surfaces during or immediately after operation; use oven mitts.
Ensure the machine is placed on a stable, heat-resistant surface away from flammable materials. Do not operate the machine with a damaged cord or plug. Keep the machine out of reach of children. Never attempt to repair the machine yourself; contact a qualified technician. Follow all ingredient guidelines to prevent malfunctions.
No Responses